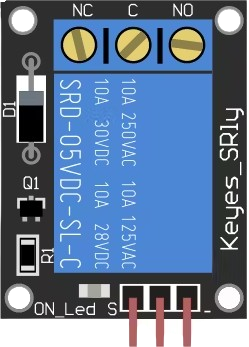
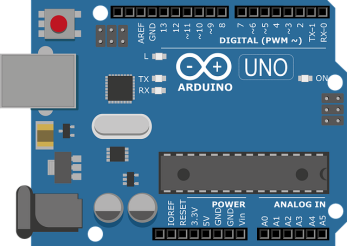
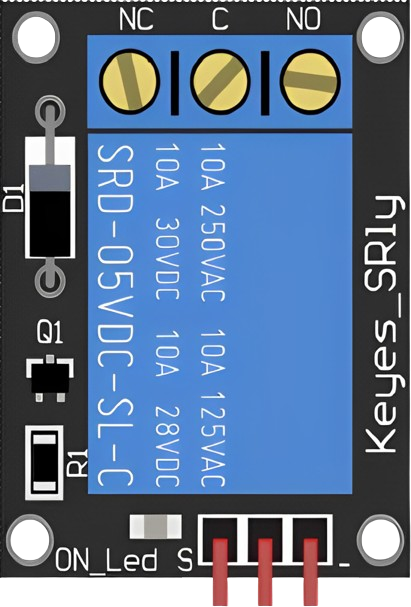
Interfacing of the Relay with Arduino
INSTRUCTIONS
Step-1(Info.)
1.)
Source
2.)
Target
Note:
Make Connections First, Then move to the code Compilation
Step-2 (Connections)
1.)Connect
Source Pin
of LED with
Pin (NO)
of Relay.
2.)Connect
Target Pin
of LED with
GND Pin
of Arduino.
3.)Connect
Pin (C)
of Relay with
Pin 11
of Arduino.
4.)Connect
Pin 6
of Arduino with
Pin 1
of Breadboard.
5.)Connect
Pin 3
of Breadboard with
Pin 4
of Breadboard.
6.)Connect
Pin 5
of Breadboard with
GND Pin
of Arduino.
7.)Connect
Pin 2
of Breadboard with
Pin (5V)
of Arduino.
8.)Click on
"CHECK"
button to check the connections.
Step-3 (Code Compilation)
1.) Set pinMode of Relay as
OUTPUT
2.) Set pinMode of LED as
OUTPUT
3.) Set digitalWrite of LED as
HIGH
4.) Set digitalWrite of Relay as
HIGH
5.) Set digitalWrite of Relay as
LOW
6.) click on
"COMPILE"
button to run and compile the code.
Components
Relay
LED
Arduino
BreadBoard
2
4
3
1
5
Bread Board
Relay
NC
C
NO
LED
Arduino UNO
Code Compiler
int
relay_pin = 11;
int
led_pin = 6;
void
setup() {
pinMode
(relay_pin,
);
pinMode
(led_pin,
);
digitalWrite
(led_pin,
);
}
void
loop() {
digitalWrite
(relay_pin,
);
delay
(1500);
digitalWrite
(relay_pin,
);
delay
(1500);
}
CHECK
RESET
COMPILE
PRINT
© 2024 | Virtual Labs, IIT Roorkee